English
  中文简体
中文简体  Français
  Español
How to Measure a Lampshade: Top, Bottom, Height, Slant and Fitter Guide
If a replacement lampshade arrives and will not sit straight, will not clear the bulb, or leans to one side, the fault is almost never the shade. It ...
If a replacement lampshade arrives and will not sit straight, will not clear the bulb, or leans to one side, the fault is almost never the shade. It is the measurement. To measure a lampshade properly you need four dimensions taken with the shade removed from the lamp and resting on a flat surface: top diameter, bottom diameter, vertical height and slant height. Then you add one more piece of information that most buyers forget, the fitter type. Get those five things right and any manufacturer can build a shade that drops straight onto your lamp with no shimming, no wobble and no return shipment.
Work in this order: measure the old shade first, not the lamp. The lamp only tells you what will physically fit; the old shade tells you what the designer actually intended. The lamp body, the harp, the socket and the bulb shoulder define the limits, but the shade you are replacing defines the proportions. When you measure the lamp instead of the shade, you almost always end up with something that technically fits but looks wrong, usually a shade that is too tall for the base or too narrow at the bottom for the bulb.
There is a second scenario worth separating out. If the lamp is already wired and hanging, or if it is a chandelier with six shades on a single canopy, you may not be able to lay the shade flat on a bench. In that case measure the opening across the inside of the rim with the shade hanging, take the vertical height with a straight rule held parallel to the axis, and note that your result will carry a wider tolerance, typically plus or minus 3 to 5 mm, because the shade is no longer supported symmetrically.
One more thing before the tape measure comes out: decide which dimension the supplier actually needs to control. A fabric shade on a metal frame lives within roughly 3 mm of nominal. A hand-woven rattan or paper-cord shade can drift 5 mm or more because the weave tension changes from piece to piece. A pressed or blown glass shade behaves differently again, because the opening is formed hot and the wall thickness varies. Knowing which number is critical before you measure stops you from chasing precision that the material simply cannot deliver.
Write down five numbers before you buy anything: top diameter, bottom diameter, vertical height, slant height and fitter type. Four of them are useless without the fifth.
Content
A lampshade is a truncated cone with a mounting device attached to it, and that is exactly how a factory drawings office treats it. Once you accept that, the measurement list becomes short and unambiguous. Top diameter and bottom diameter describe the two circles. Vertical height describes how far apart those circles sit. Slant height describes the length of the sloping surface between them. Everything else, including fitter type, recess depth and harp length, is about how the cone attaches to the lamp.
| Dimension | What it describes | How to take it | Common measurement error |
|---|---|---|---|
| Top diameter | The upper opening, where the fitter or spider sits | Lay the shade upside down, measure across the opening edge to edge through the centre | Measuring the outside of a rolled rim instead of the frame, adding 6 to 10 mm |
| Bottom diameter | The lower opening, which governs light spread and bulb clearance | Keep the shade upside down and measure the lower rim across the centre | Measuring an oval or rectangular shade in one direction only |
| Vertical height | The straight-line distance between the two rims, measured parallel to the shade axis | Set a rule vertically against the side and read from rim plane to rim plane | Reading the slant length because the tape follows the slope |
| Slant height | The length of the sloping side, from top rim down to bottom rim | Run the tape flat along the outside of the cone, following the surface | Assuming slant height equals vertical height on a steep empire shade |
| Fitter opening | The inner diameter of the ring, slot or spider that mounts to the lamp | Measure the inner edge of the ring across its centre | Quoting the outer ring diameter, which is irrelevant to fit |
| Harp height | The distance from the harp saddle to the top of the harp, which sets shade position | Measure with the harp seated on the lamp, from saddle seat to top edge | Measuring the harp loose on a bench and getting a shorter reading |
Two of these dimensions are frequently confused with each other, and the confusion is the single most common reason a shade sits too low over the bulb. Vertical height and slant height are only identical on a straight drum shade, where the sides are parallel. The moment the shade tapers, the slant becomes longer than the vertical, and the gap widens as the taper steepens.
Fitter opening is the dimension that buyers most often leave blank on a purchase order, and it is the one that decides whether the shade can be installed at all. A spider shade with a 12 mm centre hole will never work on an uno socket, and an uno shade with a 41 mm inner ring will not sit on a harp. Size is easy to fix; fitter type is not.
Diameters are measured across the opening through the centre, not around the circumference. Confusing circumference with diameter produces a shade roughly three times too large.
You do not need a metrology lab, but you do need the right tape. A soft tailor tape follows a cone surface accurately; a stiff builder tape bridges across the shade and gives you a chord instead of an arc, which reads short. For diameters under 400 mm, a steel rule laid across the opening is actually more accurate than a tape, because it cannot sag. Use both and compare.
The order matters more than it looks. Measuring the bottom diameter while the shade rests on its top rim forces the frame into a shape it does not naturally hold, and on a lightweight wire frame that can shift the reading by several millimetres. Always measure each opening while that opening is the one resting on the bench.
Measure each opening with that same opening resting flat on the bench, and take every reading twice. A single pass on a light wire frame is not reliable enough for ordering.
Diameter sounds like the simplest measurement on the list, and it is the one that generates the most disputes. The reason is that a lampshade has at least two diameters at every rim: the frame diameter and the finished diameter. Fabric is wrapped over the frame and glued or stitched to the inside, so the outer surface sits 3 to 5 mm outside the wire. Add a rolled rim, piping, braid or a folded top edge and the difference grows to 6 to 10 mm per side. That is 12 to 20 mm of variation on a single diameter.
For replacement purposes, the number that governs fit is usually the frame diameter at the opening, because that is what has to clear the bulb and the harp. For appearance and for comparing one shade with another in a catalogue, the finished outside diameter is the number customers recognise. Decide which one you are quoting and say so on the drawing. A specification that simply says 300 mm bottom diameter is open to two legitimate interpretations and therefore to a disagreement.
Not every shade is circular, and on a rectangular or oval shade a single diameter is meaningless. Record width and depth separately, measured through the centre point of each axis. A 400 by 250 mm rectangular shade and a 400 mm round shade have very different footprints and very different light distribution, even though a buyer scanning a list may see the first number and assume they are interchangeable.
Take two diameter readings at right angles to each other. On a true circle they will match within 2 mm. On a shade that has been crushed in transit or heated unevenly by a bulb, they may differ by 5 mm or more. An out-of-round shade will still mount, but it will sit visibly skewed on the harp, and no amount of adjustment at the finial will correct it. If you are ordering a replacement, send both readings so the maker knows whether tolerance is tight or relaxed.
Natural fabrics move with humidity. A linen or cotton shade measured in a dry, air-conditioned showroom in January can read 4 mm smaller than the same shade measured in a humid warehouse in July. Pleated shades behave differently again, because the pleats open and close with handling. Measure a pleated shade with the pleats in their natural relaxed state, neither pressed closed nor pulled open, and note that the quoted diameter applies to that condition.
State whether your diameter is frame or finished outside measurement. A rolled rim or piping can add more than a centimetre to the finished size on a single shade.
Vertical height is the dimension most people picture when they read the word height. It is the straight-line distance between the plane of the bottom rim and the plane of the top rim, measured parallel to the shade axis. It decides how much of the lamp body is hidden, how far light spreads sideways, and whether the shade clears the switch or the arm of the lamp.
Slant height is the length of the sloping side. On a drum shade with parallel sides it equals the vertical height. On an empire, bell or coolie shade it is longer, and on steep tapers the difference can exceed 10 percent. Slant height is the number that matters when you are cutting fabric panels, checking how a shade will look on a tall harp, or matching a replacement to an original that had a pronounced taper.
If the shade is already mounted and you cannot run a tape along the slope, calculate it. Take the bottom diameter, subtract the top diameter, halve the result, and treat that as one leg of a right triangle. The vertical height is the other leg. The slant height is the square root of the sum of the squares of those two legs.
Worked example: a tapered shade with a 350 mm bottom diameter, a 200 mm top diameter and a 250 mm vertical height. The difference in diameter is 150 mm, so half of it is 75 mm. Squaring 250 gives 62,500 and squaring 75 gives 5,625. The sum is 68,125, and the square root is 261 mm. So the slant height is 261 mm, roughly 4 percent longer than the vertical height of 250 mm. On a shade with a 400 mm bottom and a 150 mm top, the same calculation produces a much larger gap and a much bigger chance of ordering the wrong size.
Catalogue listings frequently show a single height figure without stating which one it is. When a buyer assumes vertical height and the factory quoted slant height, the delivered shade arrives shorter than expected and no longer covers the socket. When the reverse happens, the shade is too tall, it swallows the lamp base, and the proportions look heavy. On a 250 mm shade a 10 mm error is subtle. On a 400 mm shade the same percentage error is 40 mm, which is immediately visible.
Two smaller dimensions also belong on the sheet. Shade drop is the distance from the top rim down to the spider or ring, and it decides how low the shade hangs over the bulb. Recess is the distance from the top rim to the mounting ring inside the shade. Both affect bulb clearance. A shade whose top rim sits only 15 mm above the widest point of a decorative bulb will show a hot spot and, in the case of an incandescent or halogen lamp, may scorch the fabric lining. Keep at least 20 to 25 mm of clearance between the bulb envelope and the nearest part of the frame or fabric.
Always ask whether a quoted height is vertical or slant. On a steeply tapered shade the two can differ by more than 10 percent, which is visible on the finished lamp.
The fitter is the hardware that connects the shade to the lamp, and it is the only part of the specification that cannot be adjusted after the fact. If the fitter is wrong, the shade is scrap. There are five families you will meet in residential and hospitality lighting, and each one is measured differently.
| Fitter type | Dimension to measure | Typical range | Notes |
|---|---|---|---|
| Spider | Centre hole diameter, plus the height of the recess from top rim to spider | Hole 10 to 13 mm, recess 20 to 45 mm | Sits on the top of the harp and is secured by a finial; needs a matched harp height |
| Uno | Inner ring diameter of the threaded ring | Ring 40 to 42 mm for standard E26 and E27 sockets | Threads onto the socket body; independent of harp height, useful on adjustable lamps |
| Euro or E27 ring | Inner ring diameter and thread pitch | Ring 40 to 42 mm | Functionally similar to uno but with a different thread form; confirm the socket standard |
| Socket ring or screw-on | Ring inner diameter and socket collar size | Ring 28 to 42 mm depending on socket | Common on wall lights and small accent lamps; the shade is held by a decorative ring |
| Clip-on | Clip opening and maximum bulb diameter the clips will grip | Clips usually suit bulbs up to 60 mm | No harp and no ring; the shade grips the bulb itself, so bulb shape matters |
A spider is three or four arms meeting at a small centre ring, and the hole in that ring is what the finial passes through. Measure the hole, not the ring. Then measure the recess: with the shade upside down, that is the distance from the plane of the top rim down to the underside of the spider. This single figure decides how much of the harp disappears into the shade. Too little recess and the shade floats above the harp looking unfinished. Too much and the top rim collides with the bulb.
The uno fitter is a ring with a slot or thread that engages the socket. Measure the inner diameter across the thread crest, not the outer flange. On a standard E26 or E27 socket the inner ring is usually 40 to 42 mm. If you are unsure which thread form you have, count the threads over a 10 mm length and compare with the socket. Guessing here is expensive, because a mismatched ring will cross-thread and ruin the socket.
Clip-on shades are chosen when there is no harp and no socket ring, most often on small bedside or wall-mounted fixtures. Their fit depends on the bulb as much as on the shade, so measure the maximum bulb diameter you intend to use. A clip-on designed for a 60 mm bulb will not hold a 70 mm globe, and forcing it distorts the frame permanently.
Spider and harp work as a pair. Measure the harp height with the harp seated on the lamp, then match it to the shade recess and slant height.
Not every measurement mistake has the same consequences, and knowing which ones bite hardest saves time on the factory floor and in the returns department. Over several seasons of pre-shipment inspection on assembled lamps, the same handful of causes keeps appearing. The chart below shows how those causes typically distribute across a sample of fit-related issues. The pattern is consistent across table lamps, floor lamps and pendant shades. It suggests that attention is better spent on fitter identification than on chasing millimetres of diameter. The reverse assumption, that size is the main risk, turns out to be wrong.
| Cause of fit problem | Relative share | Share of sample |
|---|---|---|
| Fitter mismatch, for example spider supplied against an uno socket | 31 percent | |
| Bottom diameter read across a rolled rim or decorative trim | 24 percent | |
| Slant height confused with vertical height | 18 percent | |
| Harp height not matched to shade recess or drop | 15 percent | |
| Weave or fabric variance beyond the stated tolerance | 12 percent |
The first thing the chart shows is that fitter mismatch is not a rare edge case. It is the largest single cause, accounting for close to a third of all fit problems, and it is entirely avoidable because it requires no measurement skill at all, only a clear written specification. A buyer who writes spider on the purchase order and receives a spider has eliminated the top cause before a single shade is produced.
The second observation is that diameter errors are almost always caused by ambiguity rather than by bad tape work. Reading across a rolled rim, a braid or a decorative trim adds 6 to 10 mm per side, and because both the buyer and the factory believe they are measuring the same thing, the discrepancy only surfaces at assembly. The fix is procedural: define whether the diameter refers to the frame or the finished outside surface, and put that definition on the drawing.
The third pattern concerns the height pair. Slant height confused with vertical height sits in the middle of the table not because it happens often, but because when it does happen it is expensive. The shade has to be rejected outright, since height cannot be adjusted on a finished frame without rebuilding it. On a tapered shade the error compounds with the taper angle, so the steeper the shade, the more damage a single mislabelled number does.
Harp-related failures come fourth, and they cluster in programmes where the lamp and the shade are sourced separately. The harp is a small, cheap component that nobody wants to spend time on, so the shade is specified against the lamp body only. The result is a shade that mounts correctly but sits too low, leaving the socket exposed, or too high, revealing the harp and the bulb shoulder.
Weave and fabric variance comes last, and it is the one cause that cannot be engineered away entirely. Hand-woven rattan, paper cord and natural fibre shades are made by people, and the tension of the weave changes from morning to afternoon. A stated tolerance of 5 mm is realistic; a stated tolerance of 1 mm is a promise that cannot be kept, and insisting on it simply moves the rejection cost onto the maker without improving the product.
Read together, these five causes point to a single conclusion about process. The highest-value quality control step is not a finer caliper, it is a written specification that names the fitter, defines the diameter reference surface, states whether height means vertical or slant, and lists the harp and recess dimensions. That document takes twenty minutes to produce and prevents the majority of the failures in the chart.
A final point about sampling. The distribution above comes from assembled lamps, where the shade, lamp body and hardware meet for the first time. Problems that never appear in a shade-only inspection show up here, which is why pre-shipment inspection should always include at least a sample of fully assembled units. Measuring a shade on a bench proves it matches the drawing; assembling it proves it matches the lamp.
Fitter mismatch, not diameter error, causes the largest share of lampshade fit problems. Naming the fitter clearly on the specification removes the number one risk before production starts.
Correct measurements get the shade onto the lamp. Correct proportions make it look as though it belongs there. The classic rules of thumb are simple enough to apply in a showroom without a drawing.
| Application | Typical bottom diameter | Typical vertical height | Notes |
|---|---|---|---|
| Bedside table lamp | 250 to 330 mm | 180 to 240 mm | Keep the bottom rim below eye level when seated, so the bulb is not visible from the bed |
| Desk and reading lamp | 280 to 380 mm | 200 to 260 mm | Deeper shades reduce glare but also reduce the light pool on the work surface |
| Living room table lamp | 330 to 430 mm | 230 to 300 mm | Larger shades suit a wider light spread and a softer ambient effect |
| Floor lamp | 380 to 500 mm | 280 to 380 mm | Width at the bottom must not tip when the lamp is brushed past |
| Pendant over a dining table | 300 to 450 mm per shade | 200 to 300 mm | Bottom rim should sit 700 to 800 mm above the table surface |
| Hotel or homestay bedside | 250 to 350 mm | 180 to 250 mm | Symmetric appearance and easy bulb access matter more than novelty shapes |
Choose a harp so that when the shade is mounted, the bottom rim sits roughly 25 to 40 mm above the shoulder of the bulb. This keeps the bulb hidden from normal viewing angles while leaving enough air movement to avoid heat build-up inside the shade. Then confirm clearance between the bulb envelope and the nearest fabric or frame, aiming for 20 to 25 mm minimum. On enclosed or lined shades, that clearance matters more because heat cannot escape through the lining.
One practical warning: a shade that measures correctly but clears the bulb by only 10 mm will look fine in the showroom and scorch in service. Measure the largest bulb the customer is likely to install, not the one currently in the socket.
Match the bottom diameter to the lamp base height and the shade height to 40 to 60 percent of total lamp height. Both checks take seconds and prevent most proportion complaints.
Material changes the technique, because it changes what can be measured reliably and what has to be quoted as a range. The table below sets out the practical differences across the shade types most often supplied to export markets.
| Shade type | What to measure | Realistic tolerance | Measurement tip |
|---|---|---|---|
| Plain fabric drum | Top diameter, bottom diameter, height | Plus or minus 3 mm | Measure the frame; fabric thickness adds to the outside dimension only |
| Pleated fabric | Diameter in relaxed pleat state, vertical height | Plus or minus 4 mm | Never measure with the pleats pressed flat; record how the shade was rested |
| Woven rattan or paper cord | Top and bottom opening, height, weave pitch | Plus or minus 5 mm | Take three readings around the rim and average them; hand weave is never perfectly circular |
| Blown or pressed glass | Opening inner diameter, maximum outer diameter, height | Plus or minus 2 mm on the opening | Measure the opening at the widest point of the aperture, and note wall thickness separately |
| Metal or perforated metal | Top and bottom diameter, height, ring position | Plus or minus 2 mm | Confirm whether the metal is spun or welded, because welded frames distort under heat |
| Stained glass or Tiffany style | Bottom diameter across the irregular rim, height | Plus or minus 5 mm | Measure across the widest span and note that irregular rims never read equally in both axes |
| Paper, parchment or leather | Top and bottom diameter, height, seam position | Plus or minus 3 mm | Humidity affects these materials most; measure in the environment where the lamp will be used |
A specification without a tolerance is a request for an argument. If the drawing says 350 mm and the delivered shade measures 353 mm, the supplier considers the order fulfilled and the buyer considers it defective. Stating plus or minus 3 mm resolves the question before it starts and lets the factory choose a frame and a wrapping method that can hold that window.
Glass does not stretch, so an oversized opening cannot be corrected. What it can do is vary, because the aperture is formed while the material is molten. Measure the opening inner diameter rather than the outer silhouette, and where a glass shade sits in a metal holder, measure the holder as well. A metal spun shade is more consistent but dents, and a small dent at the rim can change the effective diameter by several millimetres even though the frame is unchanged.
Woven, pleated and stained-glass shades should always be specified with a tolerance rather than a single figure. Nominal size without tolerance guarantees a dispute.
The measurements are the same in both cases, but the purpose is different, and so is the risk. A replacement shade is a matching exercise against something that already exists. A custom order is a design exercise against a lamp that may not have been built yet. The two-column comparison below sets out the practical difference.
Replacement shade
|
Custom and OEM order
|
In practice, replacement work rewards a caliper and patience, while custom work rewards a clear drawing. Buyers who treat a bulk order as a large version of a replacement purchase usually discover the difference at the sample stage, when a 5 mm discrepancy that would have been invisible on a single shade becomes a rejection across a thousand units.
Keep a shade specification sheet for every product in the range. Record top diameter, bottom diameter, vertical height, slant height, fitter type, ring diameter, recess, harp height, material, lining and colour, plus the agreed tolerance. When a customer asks for a replacement in two years, the sheet answers the question in a minute instead of a morning.
Replacement buys matching, custom buys specification. Agreeing tolerances in writing before sampling is what separates a smooth OEM programme from a costly one.
Silhouette affects which measurement is most likely to go wrong. A drum shade forgives a small height error; a coolie shade does not, because its whole character is the slope. Scroll sideways to compare the configurations most often specified for table, floor, pendant and wall lamps, and note the measurement that deserves the closest attention in each case.
Parallel sides, so vertical height equals slant height. Measure top and bottom diameter and confirm both are the same within 2 mm. The most forgiving shape for replacements and the easiest to specify for volume production.
A modest taper, usually with a bottom diameter 60 to 120 mm larger than the top. Slant height becomes a separate number here, and the difference grows quickly as the taper increases.
A pronounced flare near the bottom. Vertical height and slant height diverge most in this family, so always record both and state which one is quoted in the catalogue.
A shallow, wide cone with a very different top and bottom diameter. The slant dominates the appearance, so an error in the calculated slant is immediately visible when the shade is mounted.
Width and depth must be recorded separately, and the diagonal should be checked, because a frame that is square on paper can still be out of true by several millimetres after wrapping.
Two axes, two diameters, and a fitter that must be centred on the long axis. Measure the short axis through the centre point, not along an edge, or the aperture reads oversized.
Drum and tapered drum shades dominate bedside and hospitality programmes because they are neutral, easy to pack and simple to wrap in volume. Bell and coolie shapes suit traditional and vintage styling but demand closer attention to bulb clearance, since the narrow top opening traps heat. Rectangular shades suit linear fixtures, desk lamps and architectural wall lights, where a circular shade would look out of place.
The steeper the taper, the more the slant height matters. On bell and coolie shades, a quoted height without a definition is not a specification.
If you are placing a volume order with an overseas lampshade manufacturer, supplier or wholesaler, the measurement conversation happens in writing and it happens before tooling. Everything you measure on the bench ends up as a line on a specification sheet, and the quality of that sheet predicts the quality of the shipment far more reliably than any sample photo.
Established export manufacturers in this category usually work with four product families, table, floor, pendant and wall, and organise shades by material and by light source. A maker with fabric, glass, metal, ceramic, resin and natural woven shades in the same programme can quote a replacement shade and a matched lamp body from one source, which removes the harp-mismatch problem entirely. Yuyao Baolong Electrical Appliance Co., Ltd. is one example of a Ningbo area manufacturer and exporter that builds table, floor, chandelier and wall lamps across LED, glass, metal, wrought iron, cable and natural material lines, works to CE, ERP and RoHS requirements on many items, and accepts both OEM and ODM orders, which is the arrangement most useful when a shade dimension has to be adapted for a specific market.
Two commercial details deserve attention because they turn measurement errors into money. The first is carton size. A shade specified 10 mm wider than necessary may fall out of an existing master carton, forcing a repack and a change in container loading. The second is nesting. Nested shades deform, and a deformed frame no longer matches the drawing, so the measured diameter becomes irrelevant in practice. If the shade must survive transit at plus or minus 3 mm, ask how it is stacked.
A purchase specification that names the fitter, defines the diameter reference, quotes both heights and states tolerances prevents almost every dispute that measurement alone cannot settle.
A shade that measured correctly when it left the factory does not necessarily measure the same after two years in service. Heat, humidity, dust and handling all move the numbers, and a customer asking for a replacement in year three is often describing a shade that has quietly changed shape.
Never order a replacement against the original specification alone if the shade has been in service for more than a year. Take the shade off, rest it on a flat surface and repeat the full measurement routine. If the top and bottom diameters now differ by more than 5 percent from the original figures, the shade has deformed and the replacement should be specified against the lamp rather than against the old shade.
Dust with a soft brush or a vacuum on the lowest setting with a brush attachment. Do not immerse fabric shades, and do not wring or reshape a wire frame by hand unless the frame is designed for it. If a shade must be stored, keep it upright on its bottom rim, lightly stuffed with acid-free tissue to hold the shape, in a dry room away from direct sunlight. Storing shades nested for long periods guarantees that the measured diameter will no longer match the frame.
Re-measure any shade that has been in service for over a year before ordering a replacement. Deformation, not manufacturing error, is the usual reason a second shade does not match the first.
These are the questions that come up most often from buyers, designers and retail customers working through a shade replacement or a first OEM order.
Do I measure a lampshade from the inside or the outside?Measure the opening across the inside of the rim when fit is what matters, and across the outside when appearance and catalogue comparison are what matter. Both readings are legitimate, but they differ by 3 to 10 mm depending on fabric thickness, rolled rims and trim. The important discipline is to state which reference you are using on every specification, so the factory and the buyer are describing the same surface. |
What is slant height and do I really need it?Slant height is the length of the sloping side of the shade, measured along the surface from the top rim to the bottom rim. You need it whenever the shade is tapered, because it differs from vertical height, and the difference grows with the taper angle. You also need it if you are matching fabric panels, checking how the shade sits on a harp, or comparing a replacement against an original. On a straight drum shade, slant height and vertical height are the same number and you can record one figure. |
How do I know whether my lamp needs a spider or an uno fitter?Look at the lamp hardware. If there is a harp, a saddle and a finial thread sticking up above the socket, you need a spider fitter, and the shade sits on top of the harp. If there is no harp and the socket has a threaded collar or a ring that screws onto the socket body, you need an uno or euro ring fitter. If there is neither, but the shade must attach directly to the bulb, you need a clip-on. When in doubt, photograph the hardware and send the measurements of the socket and the fitter opening. |
Can I use a shade that is slightly larger or smaller than the original?Yes, within limits. A diameter variation of 10 to 20 mm is rarely noticeable and often improves proportions. A height variation of more than about 15 mm will change how much socket and harp is visible, which is much easier to see. The one dimension you should not compromise is the fitter, because a wrong fitter cannot be corrected on the lamp without replacing hardware. |
How do I measure a pleated or woven shade accurately?Measure pleated shades with the pleats in their natural relaxed state, not pressed flat and not pulled open, and note how the shade was rested. For woven rattan, paper cord or similar hand-made shades, take three diameter readings at different points around the rim and average them, because the weave is never perfectly circular. Expect a tolerance of plus or minus 5 mm on hand-woven work, and specify accordingly rather than demanding a precision the material cannot hold. |
What tolerance should I expect on a custom lampshade order?Fabric on a metal frame normally holds plus or minus 3 mm. Pleated fabric and stiffer materials sit around plus or minus 4 mm. Hand-woven natural fibre and stained glass should be quoted at plus or minus 5 mm. Glass openings can be held to about plus or minus 2 mm. These are realistic figures for volume production; anything tighter increases cost without improving how the shade looks or fits in service. |
How do I measure a shade when the lamp is already wired and hanging?Measure the top and bottom openings across the inside of the rims with the shade in place, then hold a straight rule parallel to the shade axis for the vertical height. Expect a wider tolerance, typically plus or minus 3 to 5 mm, because the shade is not resting symmetrically on a flat surface. If the pendant has multiple shades, measure two or three of them and use the average, since slight variation between positions is normal in a hand-assembled canopy. |
How do I measure the harp on my lamp?Leave the harp seated on the lamp. Measure from the point where the harp sits in the saddle to the top edge of the harp, following the vertical line rather than the curve of the wire. Measuring a harp loose on a bench usually reads short. Once you have the harp height, match it against the shade recess so the bottom rim of the shade lands 25 to 40 mm above the bulb shoulder, and confirm at least 20 to 25 mm of clearance around the bulb envelope. |
Measuring a lampshade comes down to five numbers written in the right order and one hardware description that is easy to overlook. Take the top diameter and bottom diameter across the openings through the centre, record the vertical height parallel to the axis, record the slant height along the slope, and identify the fitter before you go any further. Add a stated tolerance and a clear reference surface for the diameters, and the specification is complete enough that any competent manufacturer can build to it without a second conversation.
For buyers sourcing at volume, the same five numbers become the backbone of the purchase sheet. Define the fitter, define whether the diameter refers to the frame or the finished surface, define both heights, define recess and harp height, and agree tolerances in writing before sampling. Those five definitions remove the largest single cause of lampshade fit problems, which is not imprecise measuring but imprecise writing.
If you are specifying shades for a hospitality project, a retail programme or a private-label range, the practical next step is to write the specification, measure a sample against it, and confirm the fit on a fully assembled lamp rather than on the shade alone. That sequence catches the harp and clearance problems that a bench measurement will never reveal.
Bring your lamp dimensions, your old shade measurements and the market requirements for your region, and let the factory confirm what can be held at volume. Yuyao Baolong Electrical Appliance Co., Ltd., based in Yuyao, Zhejiang, produces table lamps, floor lamps, chandeliers and wall lights across LED, glass, metal, wrought iron, cable and natural material families, exports to Australia, Europe and the United States, and accepts OEM and ODM orders with a request-for-quote process for custom work. Sending a measured specification early shortens sampling, reduces the risk of a fitter mismatch, and keeps the tolerances realistic for the material you have chosen.
Measure the shade, name the fitter, define the tolerance and re-check the fit on an assembled lamp. Four steps, and the replacement arrives right the first time.
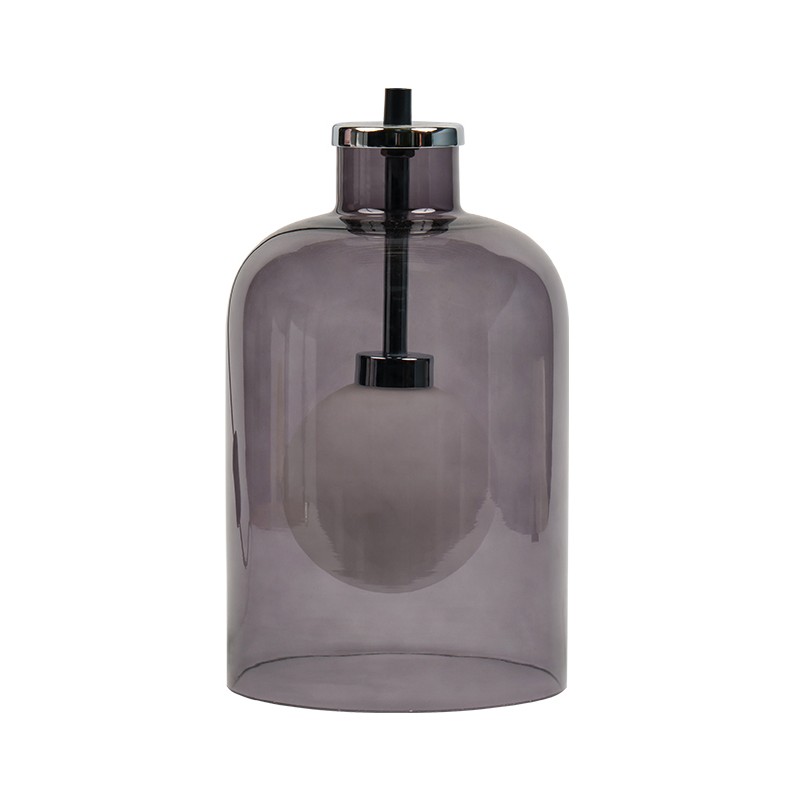
If a replacement lampshade arrives and will not sit straight, will not clear the bulb, or leans to one side, the fault is almost never the shade. It ...
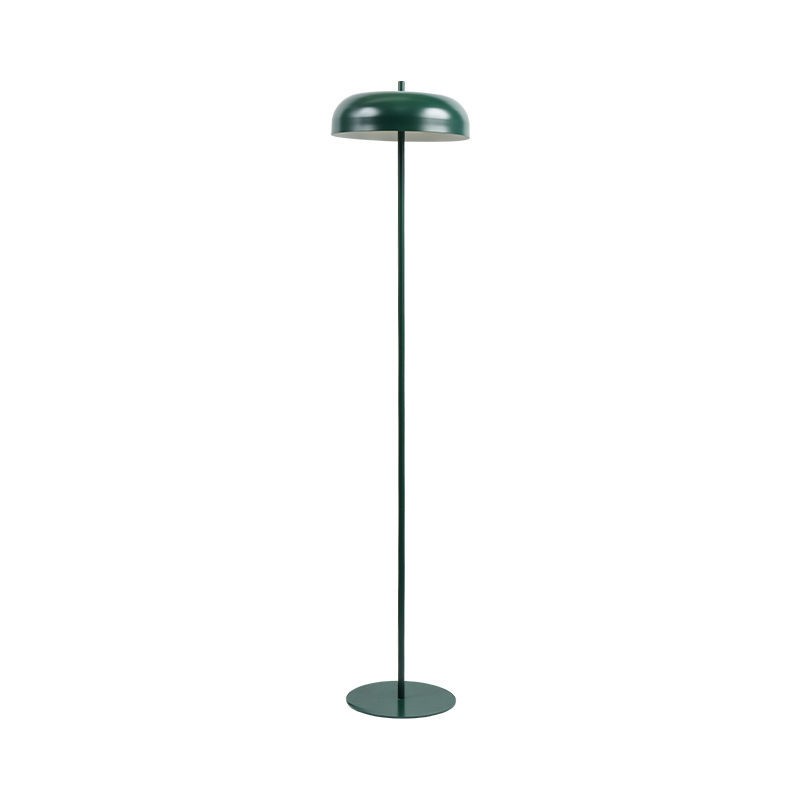
Imagine you are sourcing 2,000 lamps for a boutique hotel renovation, and the specification sheet only says "fluorescent lamp vs incandescent lamp." ...
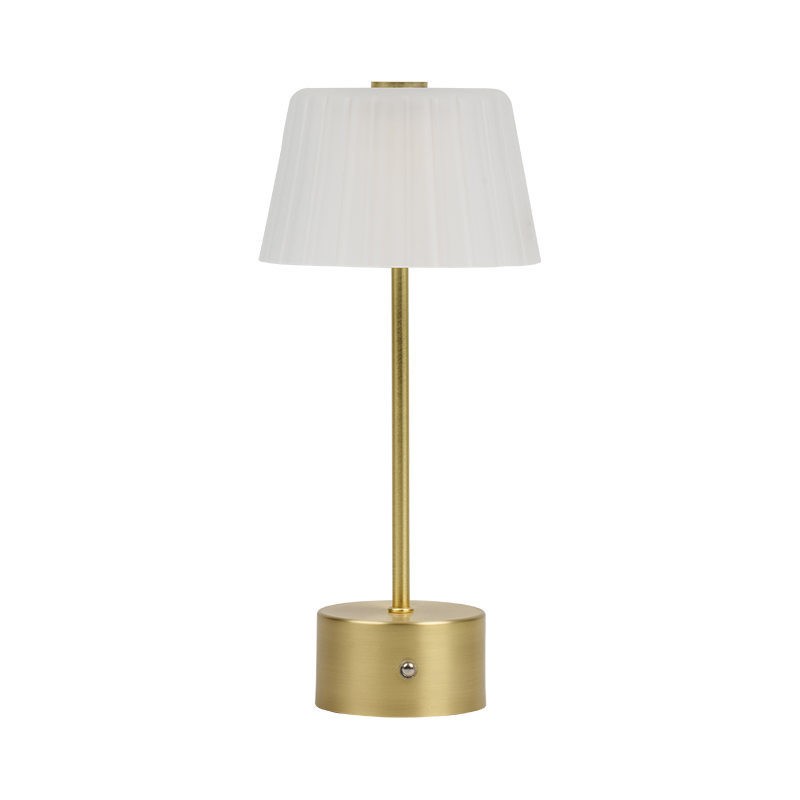
A restaurant operator in Sydney is lighting a courtyard terrace where the contractor never installed outdoor sockets. A hotel buyer needs bedside lam...
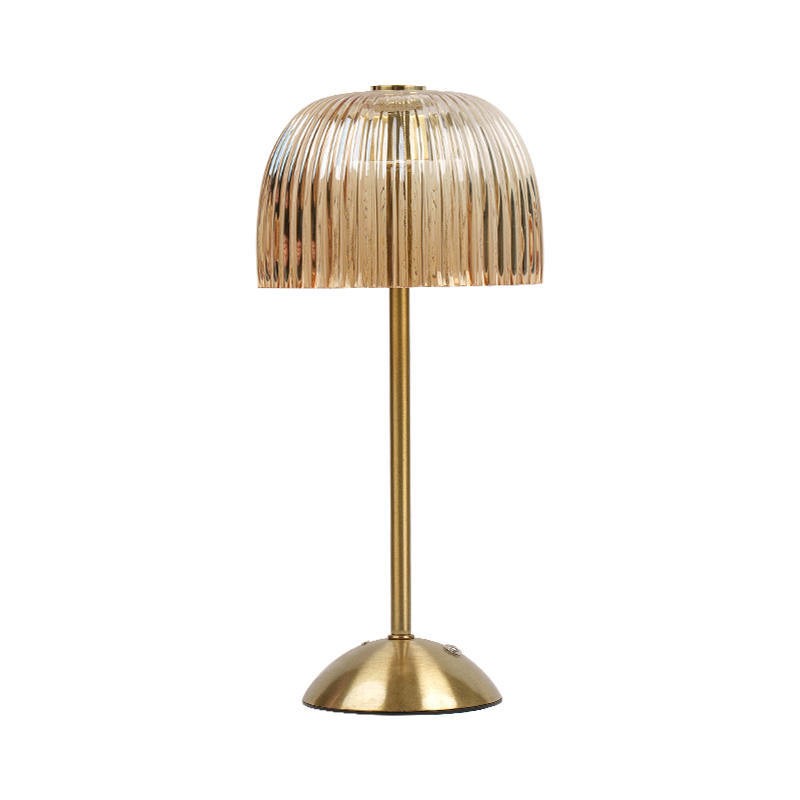
Why Cordless Table Lamps Rechargeable Models Are Gaining Traction in the Contract Lighting Market A cordless table lamp rechargeable design solves a ...

 No.11 Gongji South Road, Linshan Town, Yuyao City, Zhejiang Province, China
Copyright ? Yuyao Baolong Electrical Appliance Co., Ltd. All Rights Reserved. Wholesale Decoration Lamp Manufacturer Decoration Lamp Factory


bla@yybaolong.cn

+86-18868663339
+86-574-62067336