
 English
  中文简体
中文简体  Français
  Español
 Metal Table Lamp Series Guide: Modern, Vintage, Antique Designs
A metal table lamp series is a lighting product line built around a metal base, pole, or frame that supports the shade and electrical components. The...
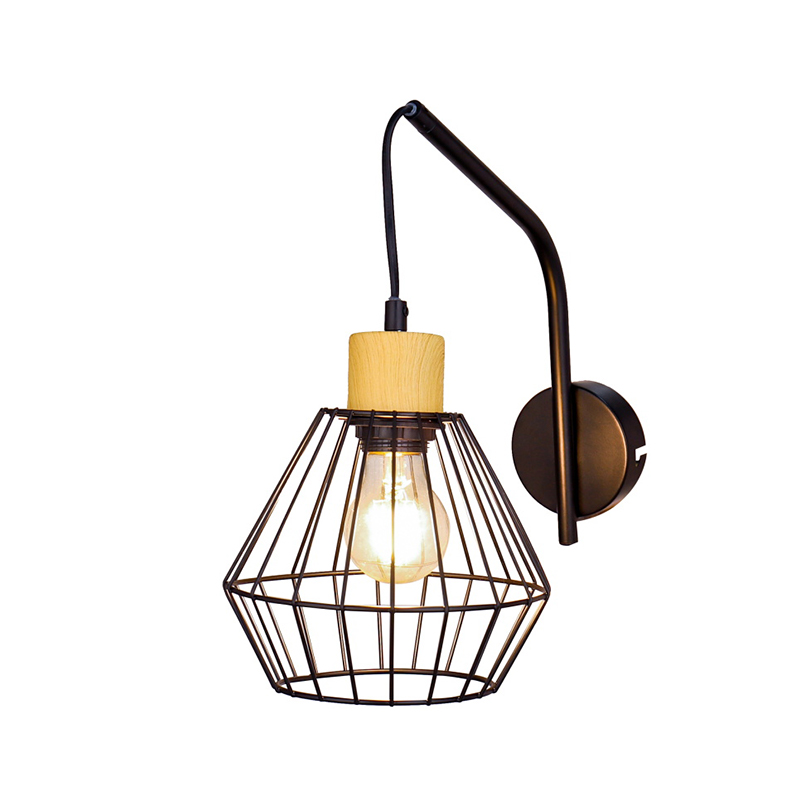
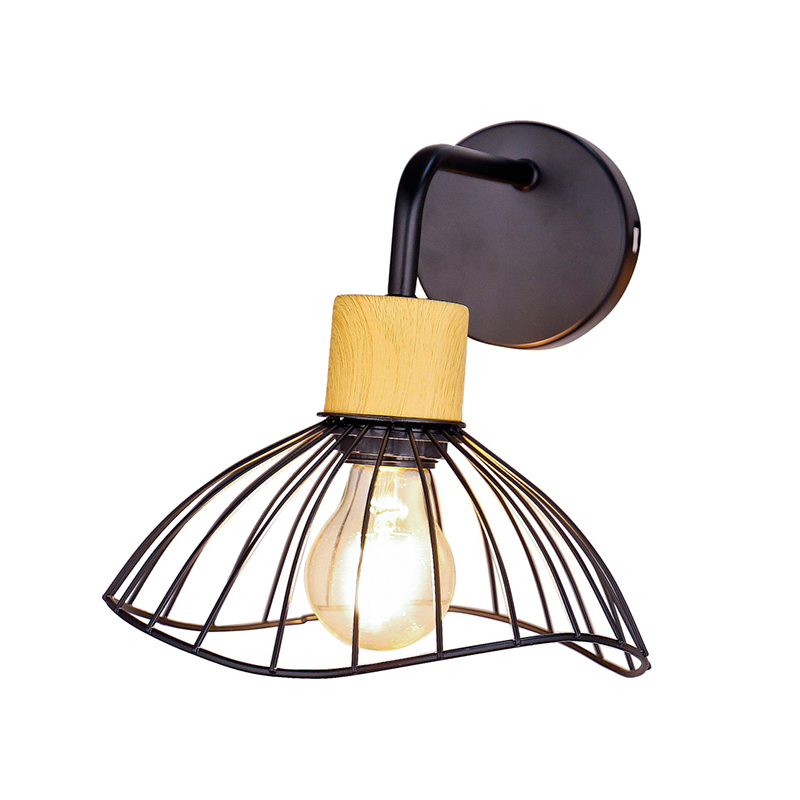
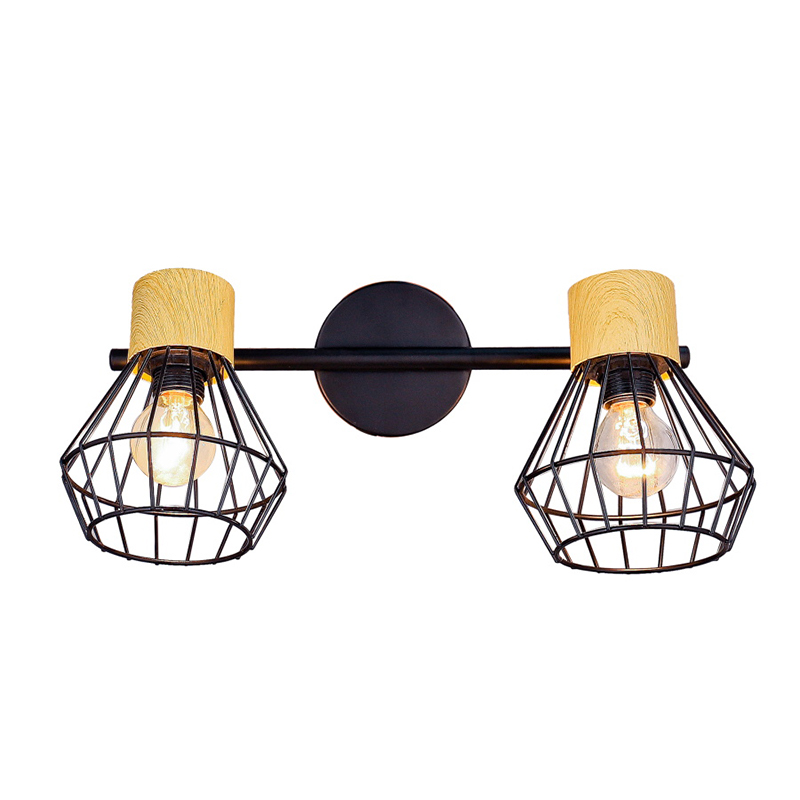
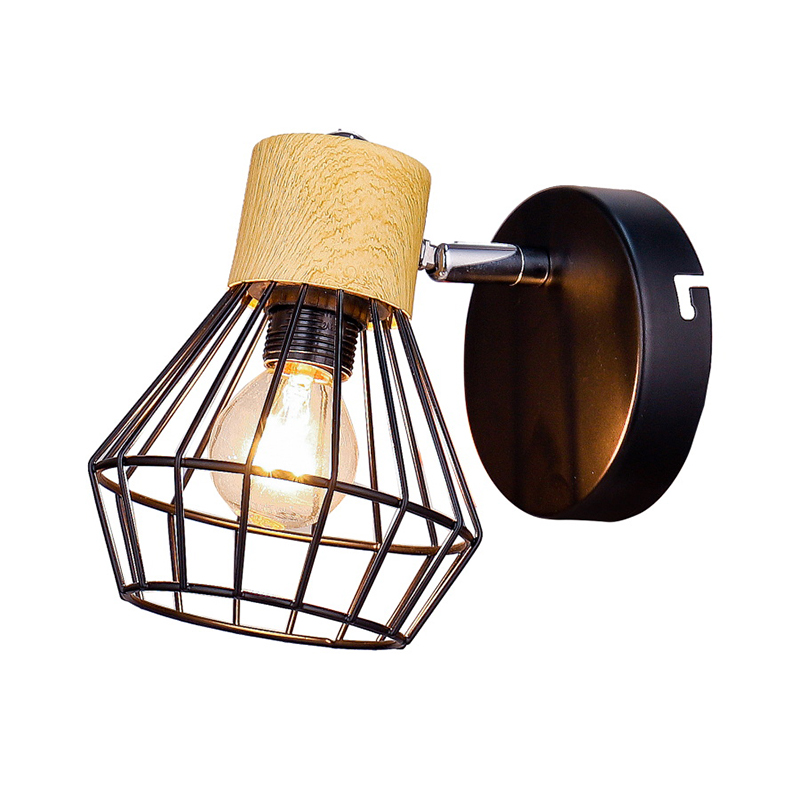
A Wall Lamp is both decorative and functional, effectively enhancing the ambiance and aesthetic of any space. Proper installation not only ensures its stability and safety, but also maximizes its lighting effect.
Content
Before beginning to install a wall light, ensure you have all the necessary tools and materials. This includes:
Also, be sure to disconnect all power sources before installation to ensure safe operation.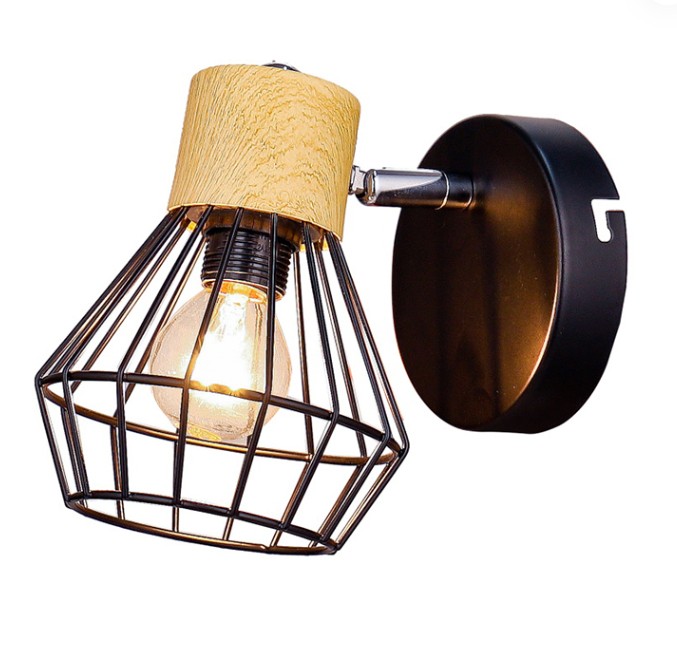
Choosing a suitable installation location is usually determined by your lighting needs and decorative effect. Use a pencil and tape measure to mark the installation points on the wall. If multiple sconces are required, ensure they are evenly spaced and aligned using a level to ensure a beautiful finish.
Use a drill to drill holes in the wall according to the marked locations. Secure the base of the wall light (usually a metal bracket) to the wall. Use a screwdriver to tighten the screws, ensuring the base is secure and free of any looseness.
This is the most critical and safety-critical step in installing a wall light.
After connecting the wires, connect the wall light body to the fixed base and secure with screws. Then, install the bulb according to the wall light's design and secure the shade.
After completing all installation steps, restore the power. Turn on the wall light and check if it is functioning properly. If everything works correctly, congratulations! Your wall light installation is successful!
Installing a wall light isn't complicated, but it does require care and patience. By following the steps above, you can not only install the wall light safely but also add a unique touch to your home. If you're not familiar with electrical work, it's recommended to seek the assistance of a professional electrician to ensure safety.
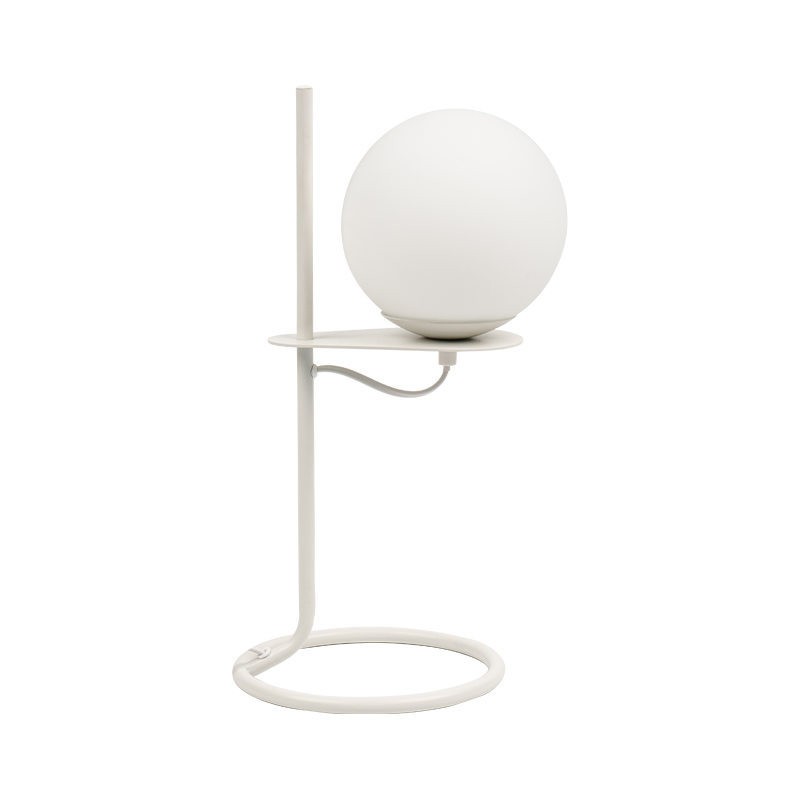
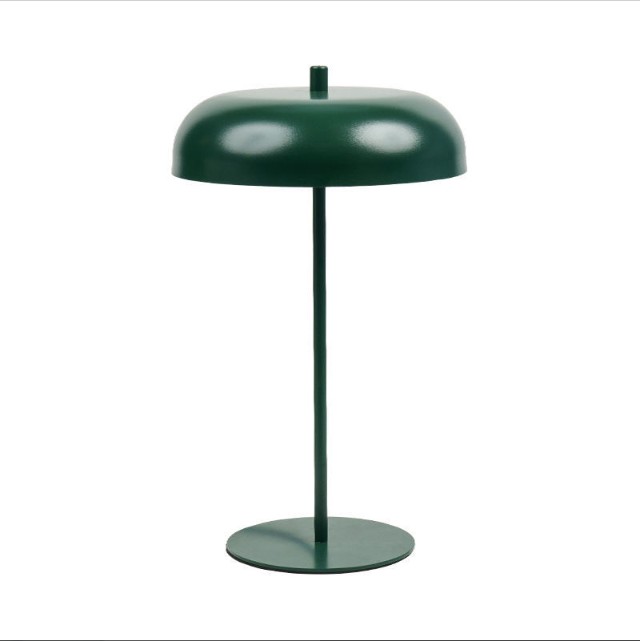
A metal table lamp series is a lighting product line built around a metal base, pole, or frame that supports the shade and electrical components. The...
An Old Lamp Is Generally Unsafe If the Cord Is Cracked, the Base Is Unstable, or the Wiring Has Never Been Inspected The most direct answer is this: ...
Are LED Table Lamps Safe Yes, an LED table lamp is generally considered a safe lighting choice for home and office use when it is built with proper e...

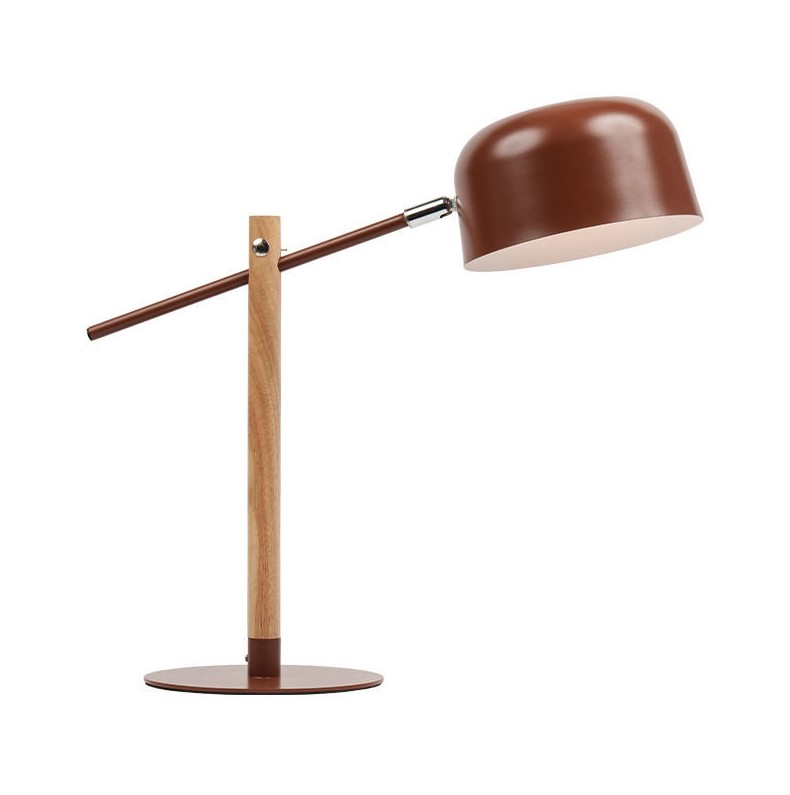
Metal Simple Table Lamp: The Right Lighting Proportion Starts Here The metal simple table lamp is one of the most consistently recommended fixtures b...

 No.11 Gongji South Road, Linshan Town, Yuyao City, Zhejiang Province, China
Copyright ? Yuyao Baolong Electrical Appliance Co., Ltd. All Rights Reserved. Wholesale Decoration Lamp Manufacturer Decoration Lamp Factory


bla@yybaolong.cn

+86-18868663339
+86-574-62067336
