
 English
  中文简体
中文简体  Français
  Español
 Metal Table Lamp Series Guide: Modern, Vintage, Antique Designs
A metal table lamp series is a lighting product line built around a metal base, pole, or frame that supports the shade and electrical components. The...
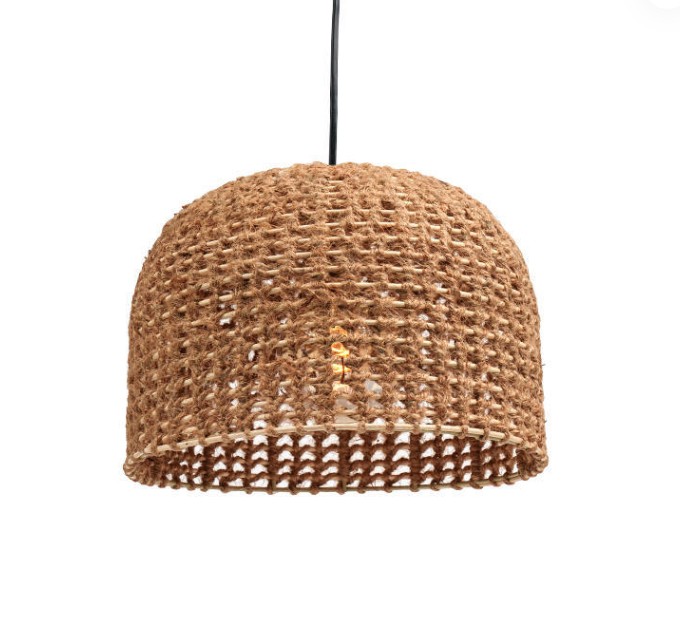
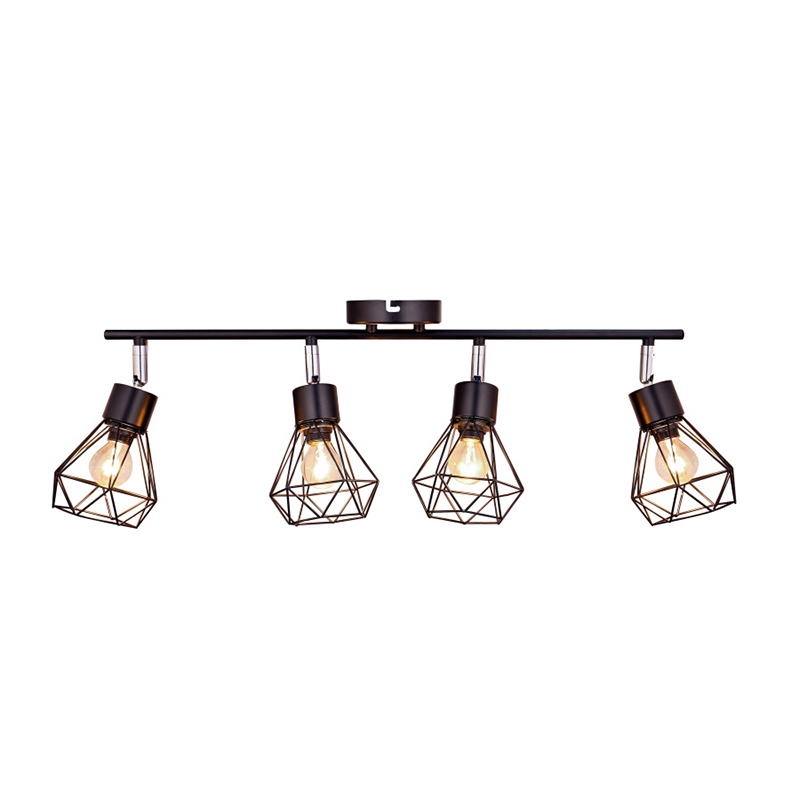
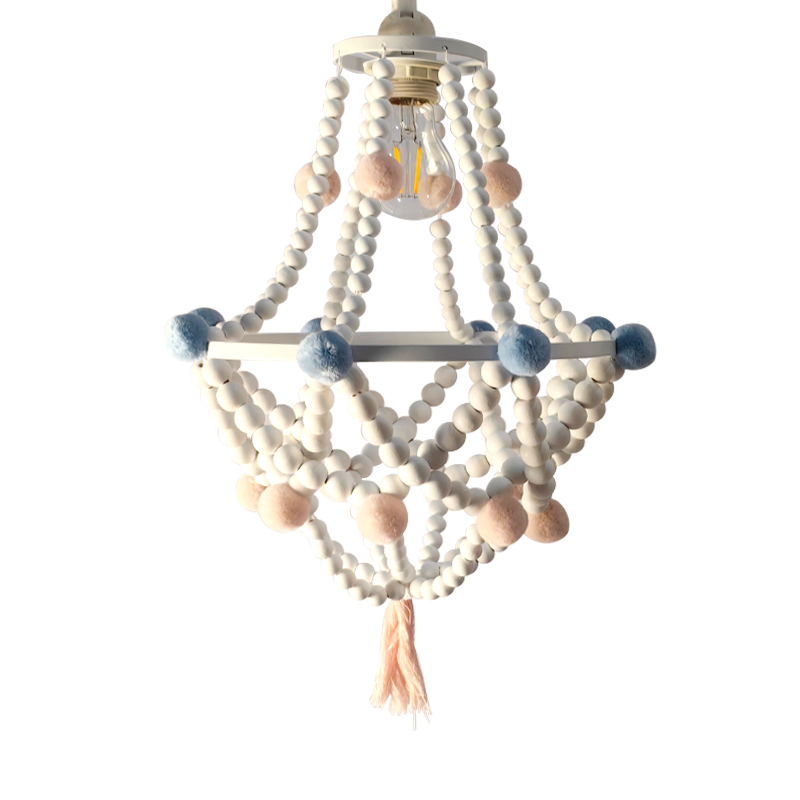
Whether it's an ornate crystal chandelier or a simple modern fixture, properly installing a chandelier not only ensures its safety and stability but also maximizes its aesthetic value.
Safety always comes first before beginning any electrical work. First, be sure to turn off the main power switch in the area where you'll be installing the chandelier, or ideally, your home's main electrical switch. Using a tester to verify that the wires are not live is crucial.
As for tools, you'll need a power drill, screwdrivers (Phillips and flathead), wire strippers, electrical tape, a ladder, and a reliable helper. Make sure all tools are in good working order and that you have a sturdy ladder.
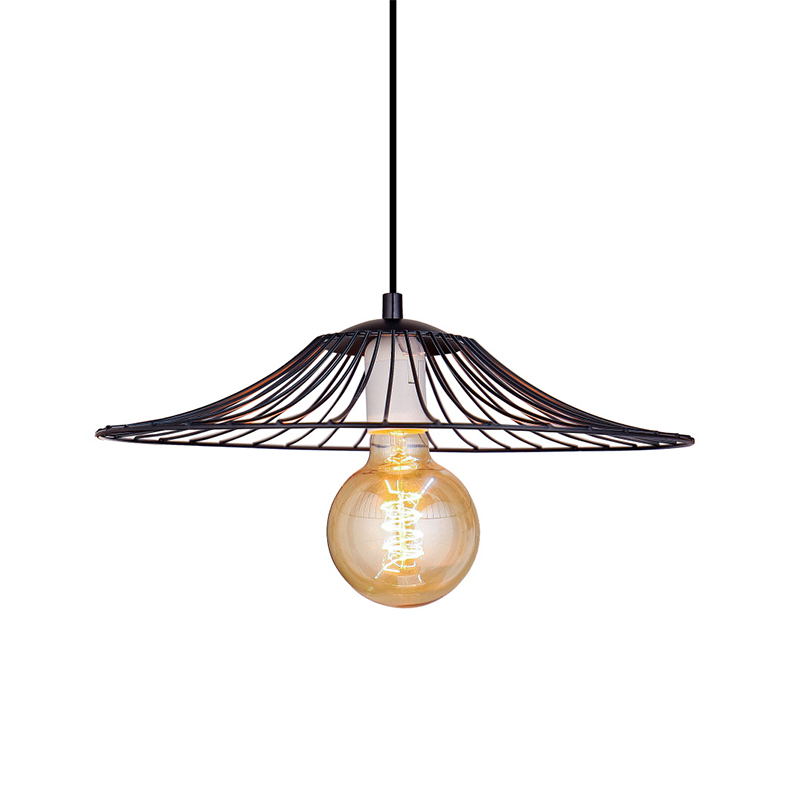
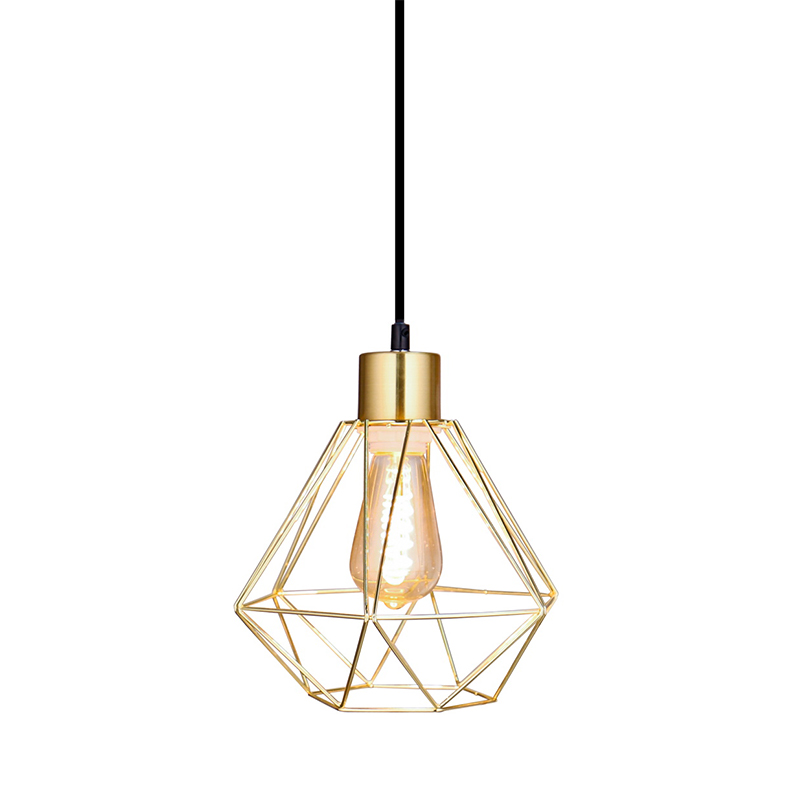
This article provides only guidance for pendant light installation. If you are unfamiliar with or unsure about electrical circuits, we strongly recommend seeking the assistance of a professional electrician to ensure your safety. A properly installed pendant light is more than just a lighting tool; it's a work of art that brightens your home.
A metal table lamp series is a lighting product line built around a metal base, pole, or frame that supports the shade and electrical components. The...
An Old Lamp Is Generally Unsafe If the Cord Is Cracked, the Base Is Unstable, or the Wiring Has Never Been Inspected The most direct answer is this: ...
Are LED Table Lamps Safe Yes, an LED table lamp is generally considered a safe lighting choice for home and office use when it is built with proper e...

Metal Simple Table Lamp: The Right Lighting Proportion Starts Here The metal simple table lamp is one of the most consistently recommended fixtures b...

 No.11 Gongji South Road, Linshan Town, Yuyao City, Zhejiang Province, China
Copyright ? Yuyao Baolong Electrical Appliance Co., Ltd. All Rights Reserved. Wholesale Decoration Lamp Manufacturer Decoration Lamp Factory


bla@yybaolong.cn

+86-18868663339
+86-574-62067336
